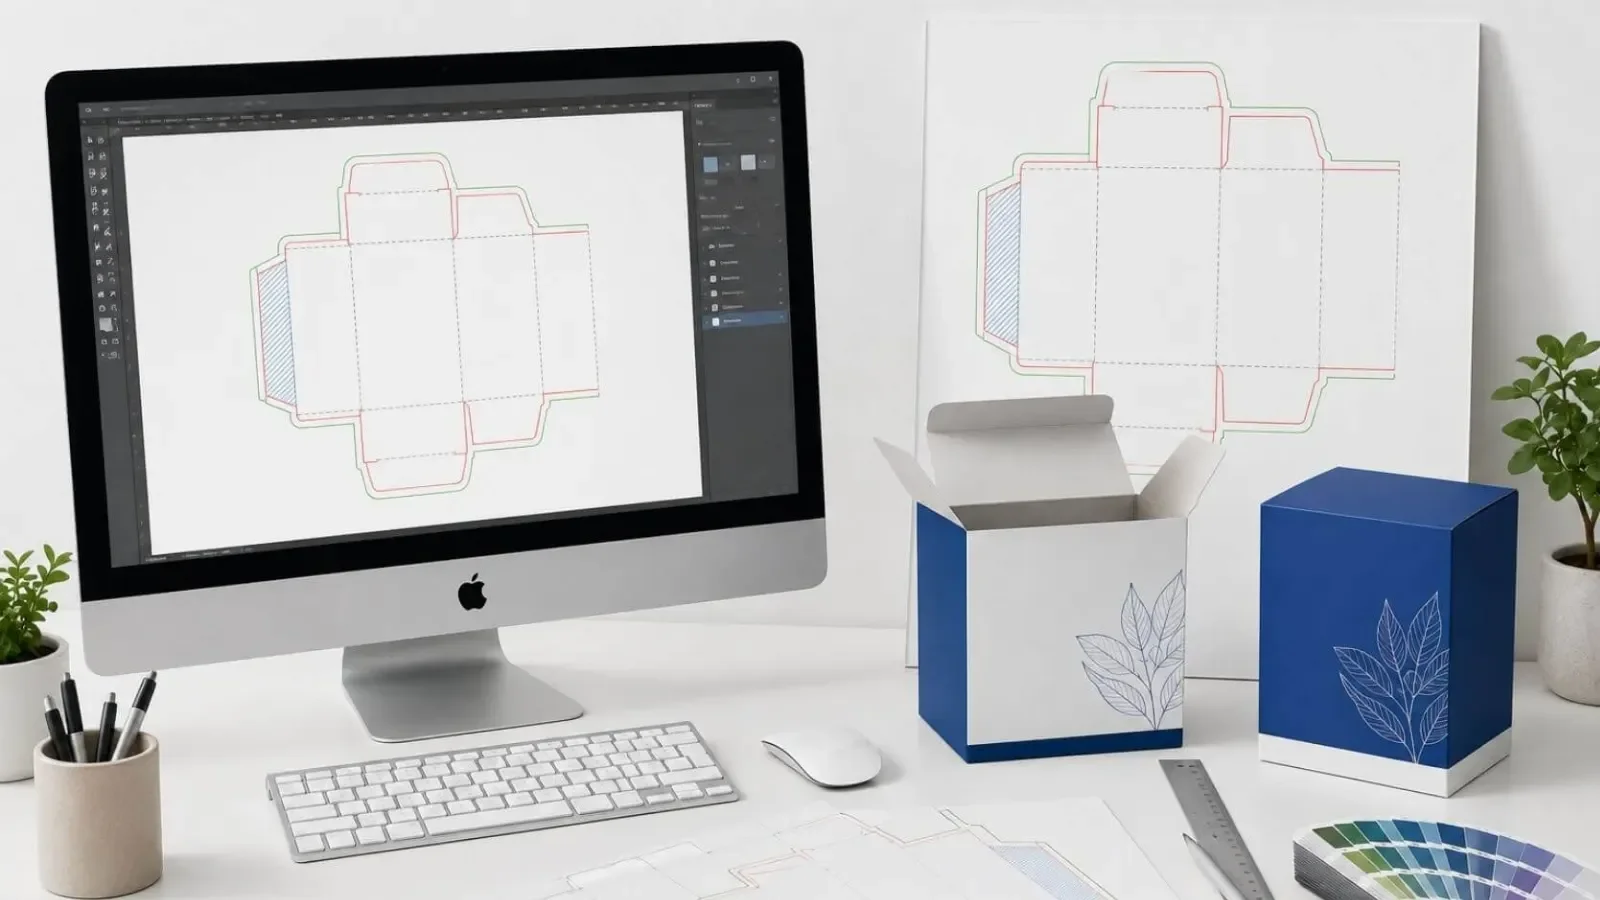
Packaging approval is a physical review: artwork proof, structure and sample checked together before the print run.
Before a China supplier starts printing, tell the printer exactly what you are approving. Use the PDF proof to check text, layout and SKU mapping. For a job where board, color, finish or fit matters, inspect a physical proof made under the agreed conditions. Give written permission to print only after the checks you agreed to are complete, and name the file revision and SKUs in that approval.
| Gate | What you are approving | Evidence to keep |
|---|---|---|
| 1. Structure | The converter's current dieline and written board specification | Dieline file at 100 percent, specification note |
| 2. File setup | A locked, non-printing dieline layer | Preflight check or marked-up file |
| 3. Artwork | A print-ready file tied to the production spec | Reference PDF, packaged links, layer list |
| 4. Proof | Content and print quality, on the right artifact | Digital proof, press proof, physical sample |
| 5. Barcode | Correct code, variant mapping and placement | Mapping table, scan result |
| 6. Release | One file, one revision, one order scope | Written approval record |
| 7. Change control | Only the approved file and stock in production | Revision log, old-stock disposition |
Which dieline should you approve before any artwork is drawn?
Begin with the converter that will actually run the job. Its dieline describes its own tooling, and a file from a previous supplier, a competitor's package or an AI-generated concept may explain the idea without describing the structure you will print. Two suppliers can quote the same outer size and still use different flaps.
In a China order, the dieline can arrive second-hand. The factory forwards a PDF it got from its own box supplier, or your agent forwards artwork your designer built around a competitor's sample. Ask who drew the dieline and which converter will run it, then request that converter's current version at 100 percent scale as a vector PDF or AI file, with a legend for the exact board grade and caliper.
Put the board specification in writing: grade, GSM or caliper, coated on one or two sides, and FSC status where relevant. One packaging studio's dieline guide recommends settling this before artwork begins.
Read the dieline before design starts. Check cut lines, crease or fold lines, perforation or tear lines, the bleed boundary, the safe area, glue flaps, no-print zones and grain direction for cartons. Confirm which panel is the front when the carton is erected. If the inside prints, confirm its orientation. Identify where coding, windows or seals need ink-free zones.
Build a white mock-up from the dieline before design development. A flat drawing can hide a wrong-way tuck or a seam landing on the front panel. Confirm bleed, safe-area and minimum type size for this converter and substrate rather than copying a number from another project. One prepress guide gives 3 mm as common for many folding cartons and 5 mm or more for some corrugated or rigid work, and leaves the converter's per-job specification in control.
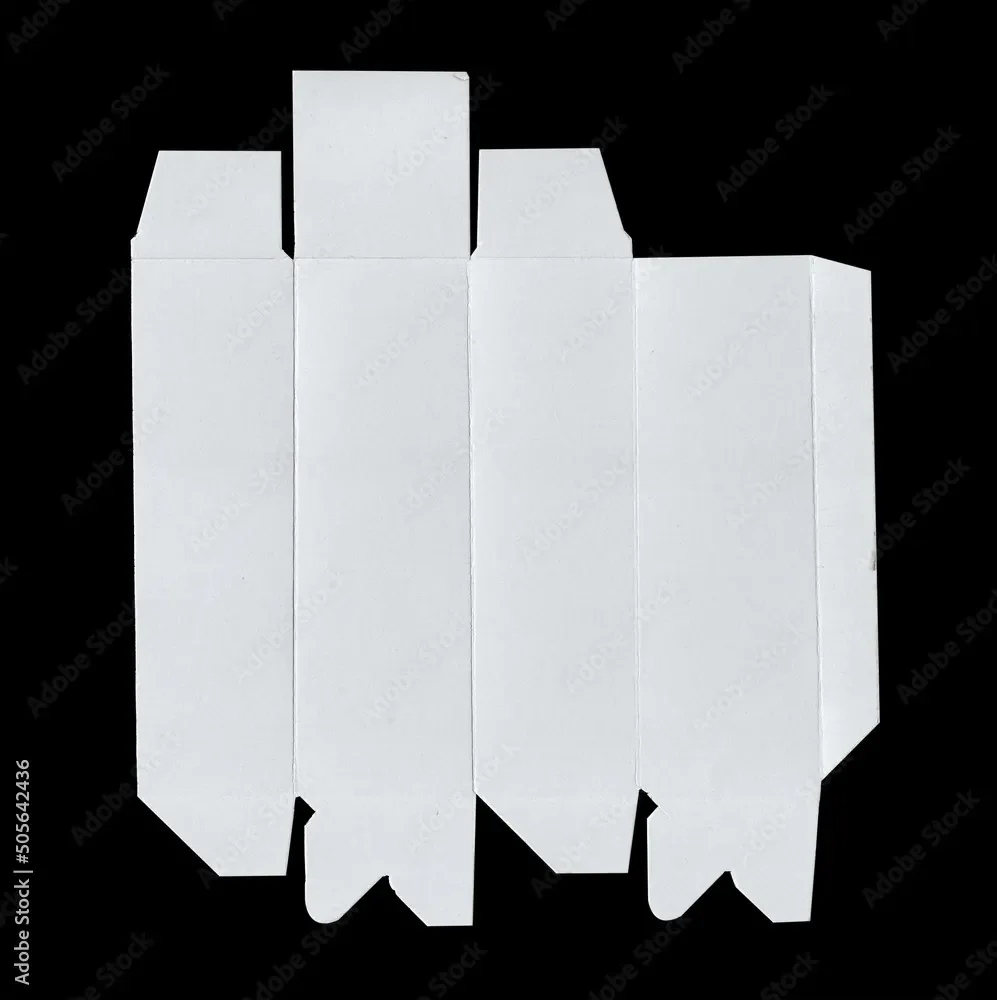
Check the converter's current dieline against a white mock-up before artwork begins.
Do not lock the packaging specification until final product dimensions, or components that affect fit, protection or packing, are confirmed.
Dieline request template
Please send your current dieline for this carton as a vector PDF or AI at 100 percent scale, with the legend for board grade and caliper. Confirm: board grade, GSM or caliper, coated on one or two sides, and FSC status; bleed, safe area and glue-zone allowances; grain direction and the front panel as erected; any no-print zones for coding, windows or seals; whether the inside prints; and the minimum type size this process holds on this board. Please confirm this is the current version for our exact size and material.
Is the dieline on its own locked, non-printing layer?
A correct dieline can still ruin the print if it is merged into the artwork. Build it on its own technical layer above the artwork, with every structural line assigned to a clearly named spot color: Cut, Crease, Perf and Glue. Set each spot color to overprint and flag the layer as non-printing so it does not knock a hole in the artwork or rasterize into final separations.
A diecut-only file for the diemaker should use unique spot colors per function and stroke lines rather than filled shapes. Lock and clearly name the dieline layer. Do not move, scale or redraw it after artwork placement; if it moves, the artwork no longer matches the physical die.
Then check the internal edges. A tuck flap or side panel needs bleed, or folding can reveal a thin line of bare board. Keep logos, body copy, barcodes and critical graphics off score lines, where bending can distort, crack or break them. Keep glue tabs free of ink, varnish and coating, because adhesive will not bond reliably to a printed or coated surface.
Finally, check panel orientation against the assembled pack. A back-panel design rotated 180 degrees can look fine on the flat file and appear upside down once the box is erected. The prepress checklist above covers the layer and spot-color setup in more detail.
What belongs in a print-ready artwork file before a proof is made?
A design becomes print-ready only when it is connected to a production specification. The artwork should identify the correct structure, size, material direction, printing method, color references, finishing layers and approval route.
Check these before a proof is made:
- Structure and dieline: packaging type, finished size, product orientation, packing method and the current dieline revision.
- Bleed and safe area: extend backgrounds and full-bleed images to the approved boundary, keep critical text, logos and codes inside the safe area, and keep important copy from sitting under flaps or assembled components.
- Fonts and links: outline final text or supply the font files as agreed. When sending Illustrator source, package linked images and fonts or use another agreed handoff, and always include a reference PDF showing the intended appearance.
- Image quality: judge effective resolution at final placed size, not at the source file dimensions, and replace low-resolution images instead of upscaling them. One print-ready guide uses 300 DPI as an example; the printer's preflight requirement controls.
- Color setup: name each brand color as a spot ink or a process build and say which in the file, put white ink, varnish, foil and other finishes on separate named layers, and set small black text in one ink where the process requires it.
- Output format: ask the printer which PDF/X version they want and use their export settings where supplied. One packaging guide describes PDF/X-4 as a file where all elements necessary for final print reproduction are contained within it. Before export, confirm fonts are embedded or outlined, images are placed at or near 100 percent, the dieline layer is set not to print, and layer names identify artwork, dieline, varnish, foil and white.
- Overprint and transparency: validate both under the agreed output configuration, because bad settings hide text, misprint color or break flattening.
A print-ready artwork guide and a prepress checklist both organize the file around these checks. Exact bleed, image resolution, color targets and process tolerances stay project-specific and follow the approved dieline, material, printing method, finishing route and supplier preflight result rather than a number copied from another job.
The supplier can print approved text but cannot certify that the wording is legally correct for your product and destination. Legal or mandatory label wording belongs with a qualified adviser. A packaging approval checklist also cannot determine which marks, warnings, tests or statements a specific product legally requires; that depends on the product and the destination market and should be checked with an official source or qualified adviser.
What does each proof actually prove: digital, physical or production sample?
A Chinese packaging supplier sends a file called final_v7.pdf and asks you to approve it so printing can start. The filename tells you almost nothing. It does not say whether the dieline matches the die at the factory, whether the artwork carries the right bleed and safe area, whether the barcode belongs to the correct variant, or whether the printed sample will match the color you approved.
Content approval and print approval answer different questions. Content approval checks whether the artwork says and shows what you intend. Print approval checks whether the factory or printer can reproduce it on the chosen material, at the required size, color, finish and placement. A PDF may approve the intended design. It does not automatically approve the item that will be printed and applied, and an email approving copy is not permission to start an uncontrolled print run.
Digital proof. Review it line by line for text and language, logos and images, product identity and variant, order-specific variable data, dieline dimensions, color and finish, carton marks and the artwork revision. A digital proof confirms layout, text accuracy and approximate color. It cannot confirm foil adhesion, lamination texture, paper tone under different light or the tactile response of an embossed surface.
Physical press proof. Require one when the job includes hot-foil stamping, emboss registration, a new paper stock, soft-touch lamination or a spot color that must match a physical reference. Review the press proof for color on the specified paper before lamination and foil, then review the finished sample for structure, trim, fold, applied position and tactile properties.
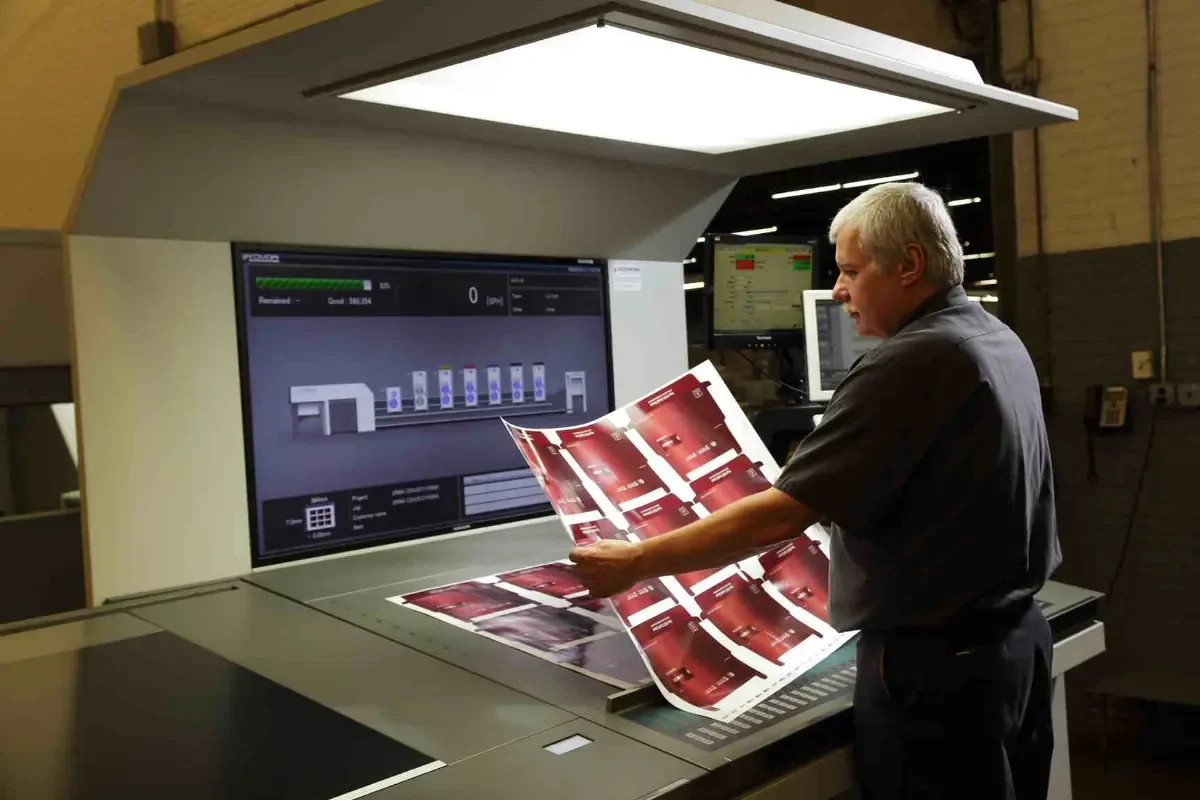
Reviewing a press proof ensures the printed output matches the approved design specifications.
Production sample. A physical sample is the better approval choice when color accuracy, structure, premium finishes or product fit are critical. On a physical proof, check the whole pack, close-up critical text, trim and fold alignment, color and finish under agreed conditions, applied position, carton marks and the actual barcode scan.
A digital proof can be enough for a standard repeat only when the paper, lamination, foil type and structural format match a previously approved and produced program. Even then, a screen proof cannot show every risk from print process, substrate, finish, adhesion, fold, cut, glare or placement. Ask for the first production-format output, first packed unit or representative carton before full printing or packing.
A design approval can confirm copy and layout. It cannot prove that the production label is the expected size, that it adheres correctly, that the print is readable, or that workers apply it in the correct place. Treat design approval and applied-packaging approval as two records.
Which barcode and variable-data checks should hold before approval?
Brand stock packaging on a small run
Check barcodes on the printed, assembled pack. Compare the value you scan with the expected value for that SKU and check that folds, seams, background graphics and finishes leave the required clear space. A phone scan is useful for catching a wrong number. If your retailer requires a formal print-quality grade, ask for a verifier report on the actual pack. Reference: GS1.
Gate 5 asks a narrower question than whether the label looks clean: can the decoded value on the packed unit be tied to the mapping row for that variant, and does that row agree with the artwork revision and order scope already recorded? Keep three records together: the mapping table, the scan result and the signed release.
A label can scan cleanly and still point to the wrong color, size or sales unit. Ask for the decoded value and check the product inside the package. Build one mapping row per sellable variant: buyer SKU, product description, color or size, units in the sales pack, expected decoded value, approved artwork filename and revision. That row is the bridge between the dieline at Gate 1, the artwork revision at Gate 3 and the scan evidence at Gate 5.
Ask the receiving warehouse or sales channel which identifier and label format it expects, then write the answer into the packaging record next to the artwork revision and order scope. Retail product codes, internal stock codes and shipment labels serve different purposes, so keep them in separate files and identify where each belongs. Store barcode values as text so a spreadsheet does not drop leading zeros, and have the receiver confirm how its system represents those values before you agree the comparison rule.
Do not scale existing barcode artwork. Recreate the code at the required size, and confirm the human-readable number under the bars belongs to this product and this variant.
Run the quality checks on the packed unit at the position proposed for production: clear margins, contrast, symbol dimensions, damage, obstruction and placement. Record each result against the mapping row and the physical-proof reference. No single label size fits every code and application, so symbol dimensions belong on the per-SKU requirement list with the applicable symbol and receiver requirements. Check the packed product as well, because a label that sits flat on an empty bag can wrinkle once it is filled.
A phone-app read is screening evidence to keep with the mapping row, not a formal print-quality grade, and it does not prove that the receiver's equipment will accept the batch. Where the receiver's written criteria call for a verification report, Gate 5 stays open until that report is filed against the release record. A scanner answers one question: can this code be read right now? A verifier asks how close the symbol is to a perfect print, and whether it will still scan on another device, in different light, next week.
If the printer scales the artwork or the supplier changes label stock after sign-off, that is a change-control trigger: request a new sample, issue a new revision and scan again before the release record is reissued. A barcode label guide covers the mapping and the packed-item check; a verification explainer covers the scanner-versus-verifier distinction and print-quality grades.
What should the written sign-off actually state?
Create one packaging record per product and variation. Packaging instructions left as a loose collection of chat messages cannot identify the current file version, so the record carries it: buyer and supplier SKU, product and variation, packaging level, order reference, artwork filename and version, barcode value, insert file, units per pack, carton-mark file, named approver and approval date.
The release record should name the exact artwork ID and revision, the digital or physical proof reference, the SKU or order scope, the variable-data source, the barcode result where relevant, the obsolete-stock disposition, the release owner and date, and any conditions. Written approval should identify the exact file name, revision number, date and order reference.
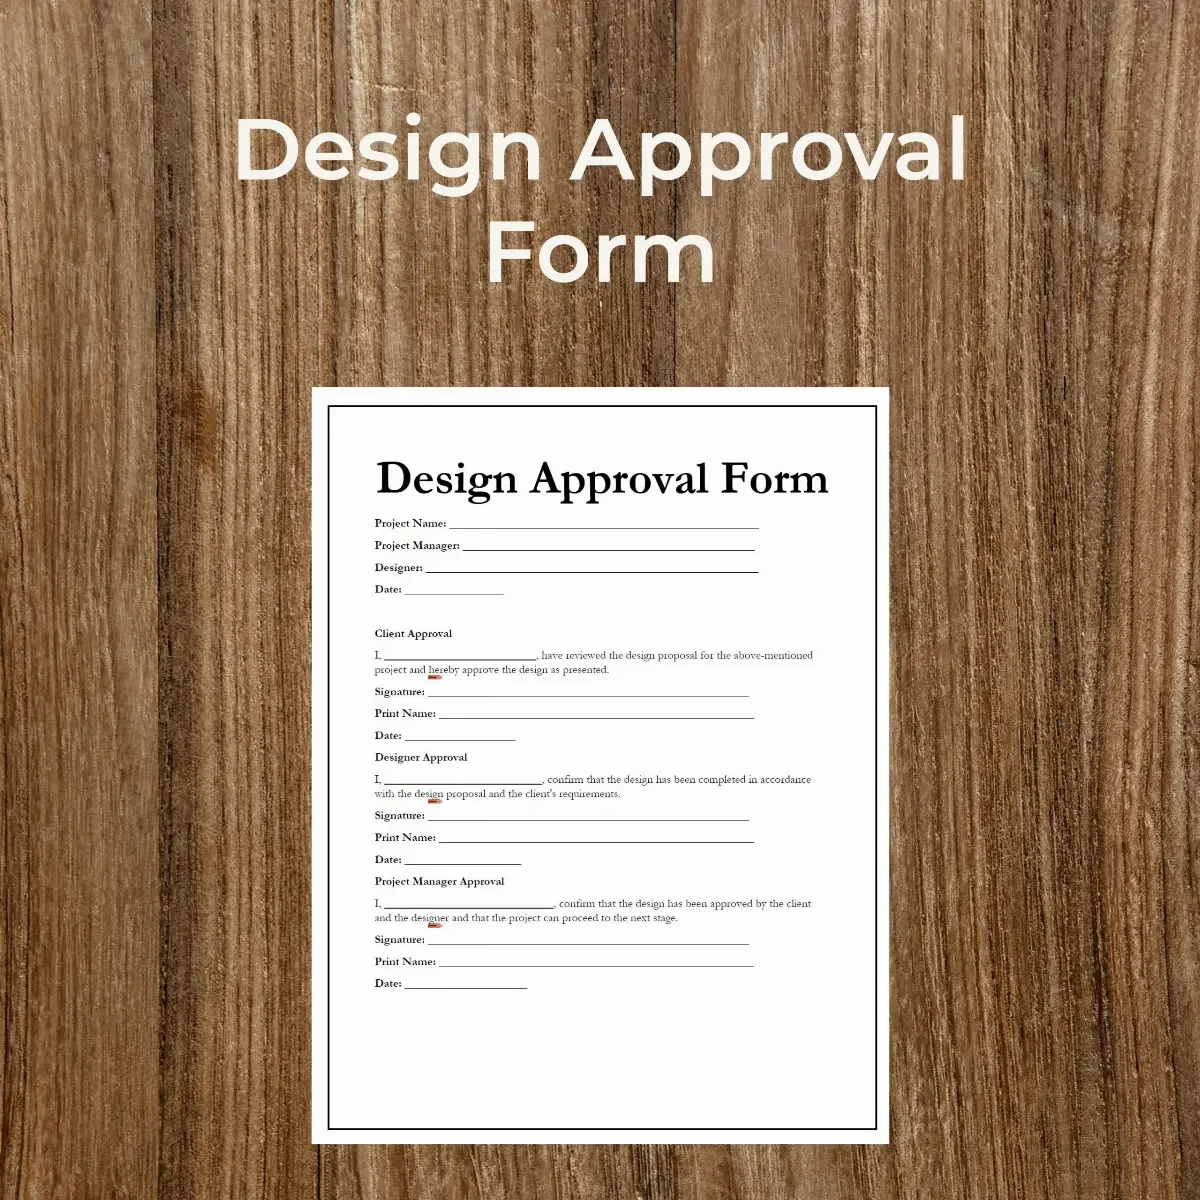
One written release record per SKU: artwork ID and revision, proof reference, order scope, release owner and date on the same page.
Record one explicit outcome: approved, approved with conditions, rejected or pending. "Looks good" identifies no file, revision, scope or owner.
Give each artwork component a unique ID and a version number with a status such as draft, under review, approved or obsolete. Reference materials and critical colors by a standard code such as Pantone or a specific grade, and define tolerances for critical dimensions. Keep the signed proof with the file version it belongs to; any change after sign-off produces a new file and a new proof.
Packaging release record: [SKU or variant]
Status: approved / approved with conditions / rejected / pending
Artwork ID and revision:
Digital and physical proof reference:
Order scope:
Variable-data source:
Barcode result, where applicable:
Old-stock disposition:
Release owner and date:
Conditions or follow-up checks:
A release covers one artwork revision against one order scope. Write the scope line so nobody reads it as approval for a later run or a second SKU that happens to use the same artwork.
How do you stop an old file or old stock from reaching the printer?
Between your design file and the printing press, the artwork can pass through several hands: your designer, your buying office or sourcing agent in China, the trading company, the factory, and the converter that actually prints and dies the board. Each handoff is a chance for a file to arrive without its revision marker, or with a dieline lifted from a different carton.
At Gate 7, the release record and revision log do the work. Send the approved file itself through the agreed handoff, because a chat screenshot can drop resolution and can omit the revision marker. Put the revision owner's name in the release record and list the withdrawn files in the revision log.
Version control keeps everyone working from the current approved file, and the audit trail records who reviewed, edited and approved each version, with timestamps. Lock obsolete versions from further use rather than moving them to an old folder. External partners should use only approved versions referenced by unique IDs, and any proposed change should come back through your change-control process.
A change after sign-off voids the current release. Issue a new artwork ID and revision, attach a new proof where the output is affected, and record the superseded revision and its disposition in the revision log. Update the official specification and send the new file as a formal revision rather than communicating the change by chat or email alone. A revision-log entry carries the version, date, change description and approver.
If the printer, substrate, ink or production setting changes in a way that affects the agreed output, decide whether a new proof is needed before continuing. Hold production or packing that depends on an unconfirmed revision.
Identify old printed labels, cartons and inserts before a new revision takes effect. Segregate them and record your decision to use, rework, destroy or transition the existing stock, so revisions do not mix silently.
Once a press proof has been approved, production output that drifts from its color is a production defect, not proofing variance.
Before the next packaging order
Ask the packaging maker for its current dieline at 100 percent scale, with written bleed, safe-area, board and minimum type specifications, and confirm which converter will run the job. Build one packaging record per SKU and name one person who can approve revisions.
Review the digital proof for content and identity: text, language, SKU, variant, variable data, carton marks and revision. Then require the physical proof or production sample that matches the actual substrate, finish and barcode placement.
Release production only with a written approval naming the file, revision, proof, order scope and any conditions. Treat any later change as a new revision that needs its own review.
Board grade, bleed, safe area, minimum type size, color tolerance and barcode rules are not universal. Confirm them in writing with the converter, printer or responsible adviser for your product and destination. If you are preparing a packaging order now, send the dieline request and packaging record template to your supplier before the next print run, and keep the signed release where your team can find it.